To all my friends and contacts my wishes of a merry Christmas and a brilliant 2015 full of great accomplishments!
To all my friends and contacts my wishes of a merry Christmas and a brilliant 2015 full of great accomplishments!
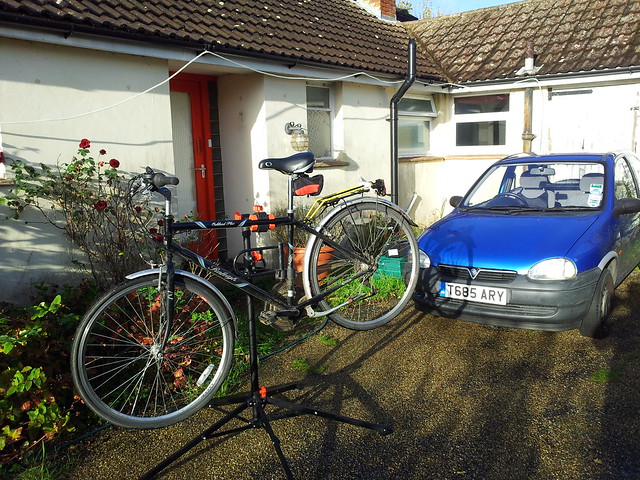
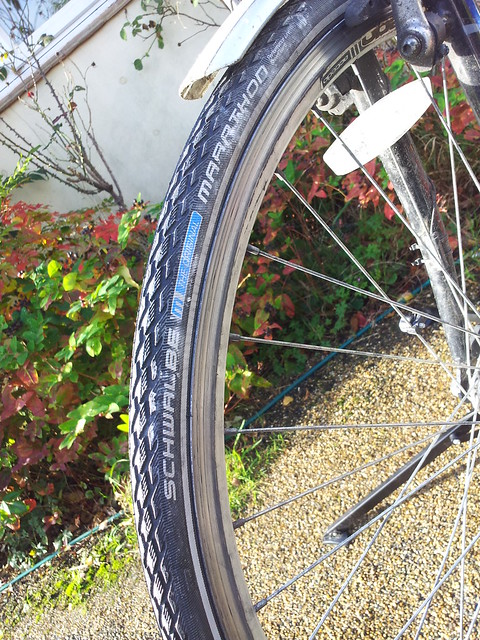
Indeed I “pimped” up my ride today with a pair of Schwalbe Marathons from Chain Reaction. I got two 700 x 28c, as I do tend to overload the bike quite a lot and a 25c would just be silly (and I came to that conclusion myself, after wrongly ordering one from eBay… I could feel every single bump hitting the rim!!).
Anyway, it wasn’t too hard to fit (especially when I had H. around to help, him being one of my housemates and a terrific bike mechanic! 🙂 ), the hardest bit was to remove the old 25c tyre I had on my rear wheel!
I went for a little test drive and it definitely feels a lot nicer, especially since now I can pump it to the required level (around 5-6 bar) with confidence that the tube will not blow up (I got some nice new inner tubes as well). But the best thing is really the puncture protection – hopefully these tyres will withstand at least a year of harsh treatment! (I ride in a mix of road and partially paved tracks)
Well, if you don’t see any further posts ranting about me having had a puncture, it is a sign that the tyres are actually quite good 🙂
And now, on to actually do some work!
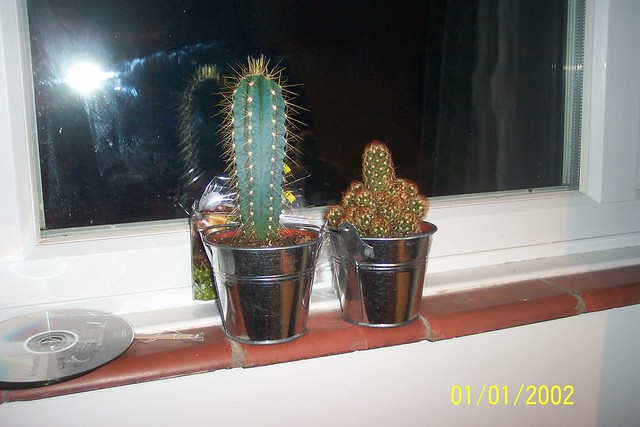
Since I was unable to bring a little saguaro from Arizona (or, at least, didn’t want to risk my chances in customs) my favourite German supermarket had to come to the rescue! 🙂
(and I should definitely set the date on my camera!!)
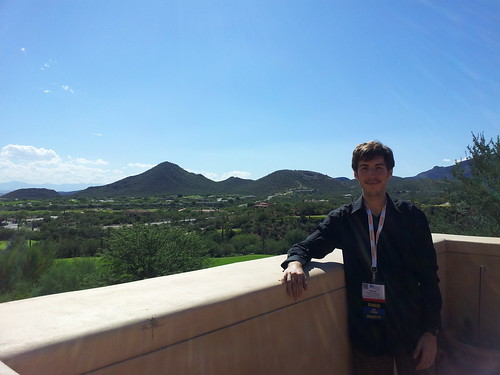
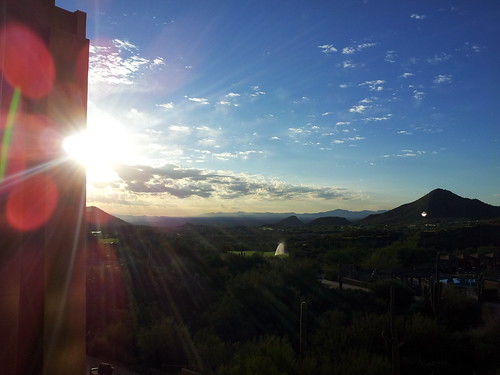
And here I am in Tucson! After sleeping the jet lag through (one night’s sleep and I was fine! 🙂 ), we had a very busy day at the OSA Student Leadership Conference, with plenty of inspiring talks and good speakers. Plus, it was quite refreshing to see what kind of activities other student chapters across the world are doing, and eventually – ahem – take some of those ideas back to our own Student Chapter!
Pretty productive day, and met a lot of interesting people so far. And now… let the actual conference begin! 🙂 (and I’m now going to bed, as I still want to cram an early morning run before things start getting busy…)
Some more photos of the glorious sunshine (which turned into rain in the evening, British-weather-style) are available on my Flickr album.
When I first got my car I was a bit surprised for not having any illumination of the heating controls, which can be a problem especially in the Winter, when the days are short and you need to use these controls a lot more!
Anyway, there is illumination indeed, the issue here is that the lighting is designed to stay on regardless of whatever setting you may have on your outside lights. Add to it incandescent bulbs and a horrible procedure to extract them from the panel (more on that later) and no wonder most old Corsas lying around have no functioning lights any more – the owners are coping with it the best way they know, either by turning on the courtesy light or simply by memorising the position of the controls.
Not for me, though! 🙂 – I hate knowing something could be working but it isn’t, but at the same time I hate forking out money on seemingly “little” things (and Vauxhall charges £50+ for the “privilege” of sorting these lights for you!). Hence, armed with some LEDs I got from eBay, my Haynes manual and a few more bits and pieces, I set on trying to sort this out.
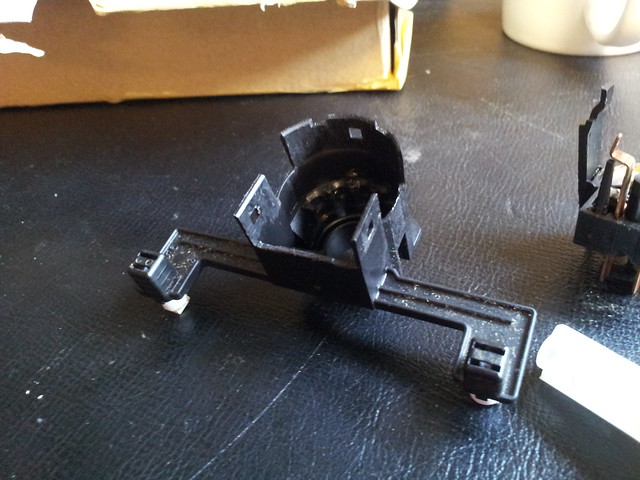
Firstly, here is the part in question which holds the lights in place. It definitely doesn’t look familiar to anyone owning one of these cars, as it is buried deep into the fascia:
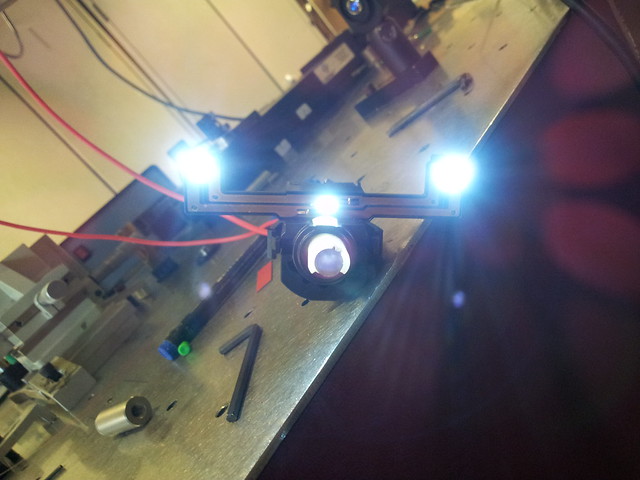
Or, as it sits in the fascia (I took the previous photo as I was testing the lights hooking the part to a 12 V DC power supply),
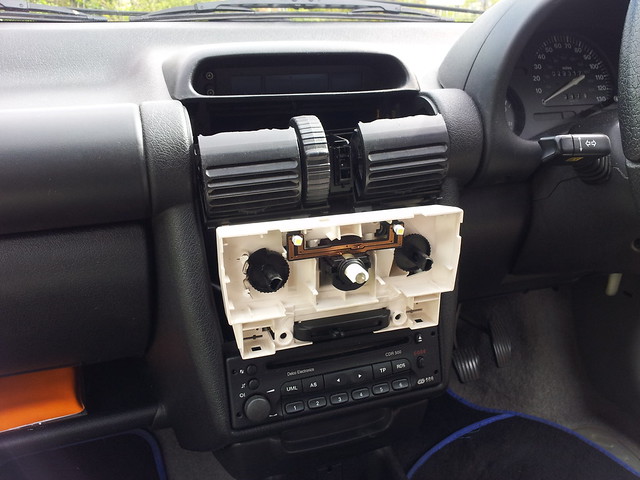
To access this holder all you have to do is follow the instructions from the Haynes manual: pushing the vents down to reveal the screws behind them, which will in turn release the multi-function display on top; and after removing the air recirculation switch and the knobs you can finally get to the lights.
Unfortunately there is something the Haynes manual misses – of these three bulbs only two of them are socketed, given that GM changed the design of this holder in ’97 and with that the central bulb became soldered inside the central switch (the one that controls the fan and the demister). Hence, I had to pry it open in order to get to the bulb,

thus separating it from the remaining bulbs, which sit on those two arms:
Given that I had intended to replace these lights with LEDs in order to avoid going through this procedure all over again in a year or two’s time, I had to be careful with the polarity. The pins on the back of the assembly are labelled as far as I remember, one of them having a plus sign, hence you can always test with a DC power supply before you take apart half of the car to replace the lights.
My advice – given that you will necessarily have to pry the fan/demister switch open to replace the light, get a used one off eBay or a scrapyard (they should be cheap…) and work on that one – in this way you can just replace the whole unit and be sure it effectively works correctly.
That’s it, folks! Hope you’ve enjoyed the tutorial, I felt I should do one as I kind of missed one when I attempted to do this myself (there were a few images in an enthusiast forum, but they have since been removed…). Any questions, please do ask!

But thanks, anyway! ☺
 Via Flickr:
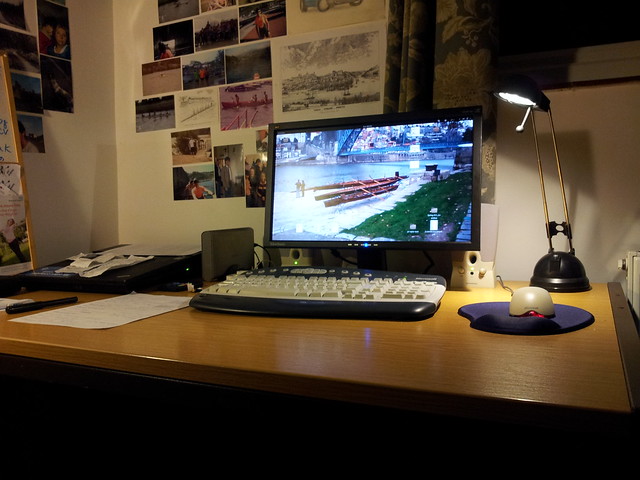
Got this lovely desk a few months ago on eBay for £25 (had to drive to Sittingbourne to get it but it was worth it – it is absolutely immaculate!). Speakers (good ones!), Microsoft keyboard+mouse set all from Freecycle.
My trusty ThinkPad sitting in its bigger dock (the smaller one – the Advanced Mini – is in my desk at work), and the newest addition, this lovely 20” ViewSonic which is obviously not new, but serves its purpose admirably, especially taking into consideration how little it cost (£35 with free P&P).
I can now work, and indeed I have already done so 🙂

If you fancy cycling all the way up to Scotland, all you have to do is to follow these signs! 🙂
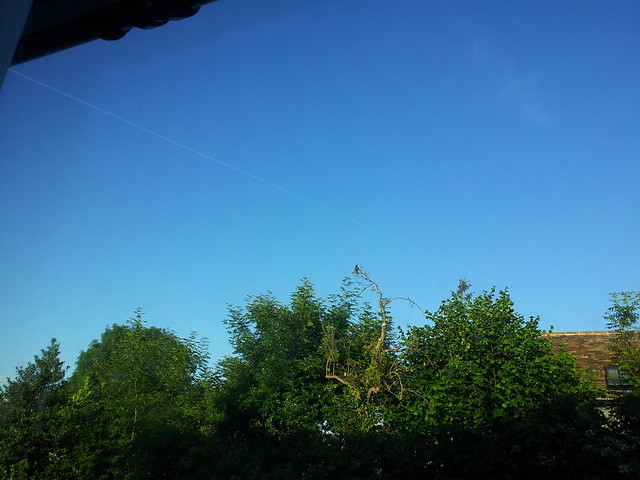 This is the view I had from my bedroom window just before 6 AM today. Beautiful day, and nothing better to start it than a 8k scull in the Stour in great company!
And now let’s get back to work…

Hello there, and welcome to my personal web page/blog!
My name is Manuel Marques, and I’m a lecturer in the School of Physics and Astronomy at the University of Kent (United Kingdom). I am also a researcher in the Applied Optics Group at the same institution. My work lies mostly in the area of Applied Optics, namely white light interferometry and its two/three-dimensional variant, optical coherence tomography.
Outside work I'm a keen runner/sculler/rower/cyclist, and I do enjoy being in the outdoors (photographing them is a bonus, too!). Other hobbies include tinkering with things, both big and small (not always with a positive outcome, I must say), travelling, reading, in no specific order.